Bookstack Using Docker Compose
Creating a Bookstack on localhost
A Bookstack can be easily ran with docker using the default .env settings and tested through visiting localhost in a web browser. Follow the Docker Installation Instructions and create a docker-compose.yml configuration that matches the format on the Linuxserver.io Repository (DockerHub Image) page. If you've never used Docker before, it's a good idea to check out Play With Docker - a community project sponsored by Docker.
Creating a docker-compose.yml
Docker Compose utilizes a docker-compose.yml file to organize and configure the services running on a host using Docker. The docker-compose.yml should look something like the following, grabbed directly from the Linuxserver.io GitHub Repository for the Docker image we are using below - linuxserver/bookstack.
version: "2"
services:
  bookstack:
    image: linuxserver/bookstack
    container_name: bookstack
    environment:
      - PUID=1000
      - PGID=1000
      - DB_HOST=bookstack_db
      - DB_USER=bookstack
      - DB_PASS=<yourdbpass>
      - DB_DATABASE=bookstackapp
    volumes:
      - <path to data>./bookstack/:/config
    ports:
      - 6875:80
    restart: unless-stopped
    depends_on:
      - bookstack_db
  bookstack_db:
    image: linuxserver/mariadb
    container_name: bookstack_db
    environment:
      - PUID=1000
      - PGID=1000
      - MYSQL_ROOT_PASSWORD=<yourdbpass>
      - TZ=Europe/London
      - MYSQL_DATABASE=bookstackapp
      - MYSQL_USER=bookstack
      - MYSQL_PASSWORD=<yourdbpass>
    volumes:
      - <path to data>./database/:/config
    restart: unless-stopped
Be sure to edit this file to change the passwords above before spinning up your container, and pay attention to the <path to data>
For example, If you specify a volume as ./bookstack/:/config, then the bookstack directory will be created within the directory of the docker-compose.yml that was ran to spin up the service. Docker will then mount the bookstack directory to the contaier's /config directory
If you are running a strict firewall or set of iptables, be sure to adjust them accordingly to the ports within the docker-compose.yml.
If you are just spinning up a container locally, you shouldn't need to worry about firewall rules since all the traffic will be internal.
The final configuration step is to change <yourdbpass> in the docker-compose.yml above to your preferred password.
Starting Our Containers
Now, all we need to do is store this docker-compose.yml file within a directory we wish to admin the container from, and run docker-compose up -d to start our services that we have defined. the -d flag simply tells docker-compose that we wish the detatch the processes from our current terminal session, which prevents us from inheriting the active logs from the services we started. If you want to see these logs as an active feed after you spin up your services, simply run docker-compose logs -f to do so.
That's it! As long as you have no custom domain configuration and only plan to view this Bookstack instance locally, there is no other configuration to be done on the back end of your test-wiki. You should be able to open your web browser and visit localhost:6875 to see your Bookstack application.
Run docker ps to see a list of containers, and the ports they are running on. This helps to debug network issues when attempting to view our application. If localhost:6875 does not work, check that your output is appropriate for the use of that port.
You will need to include the port within the URL to view your BookStack unless you are using NGINX to proxy traffic to the appropraite port
Testing BookStack
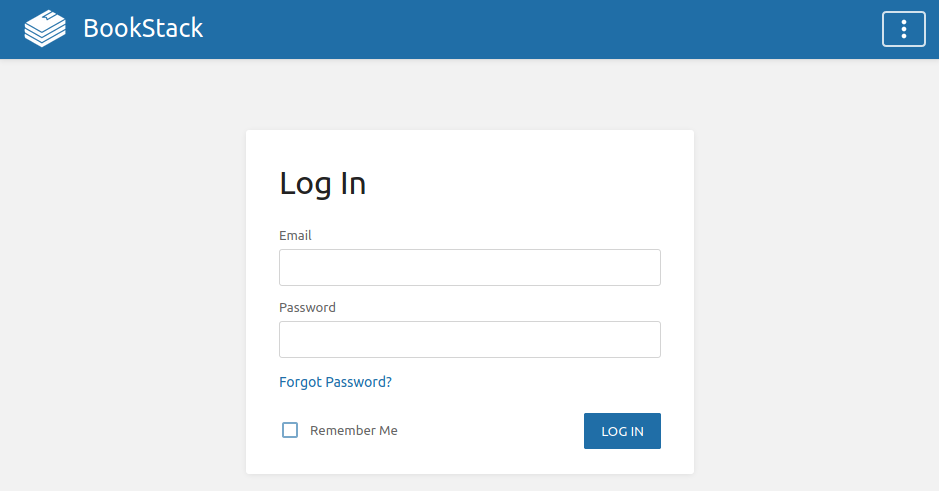
Working from a headless server, but still trying to run containers locally? Run elinks http//localhost:8080 to check if you see the page below
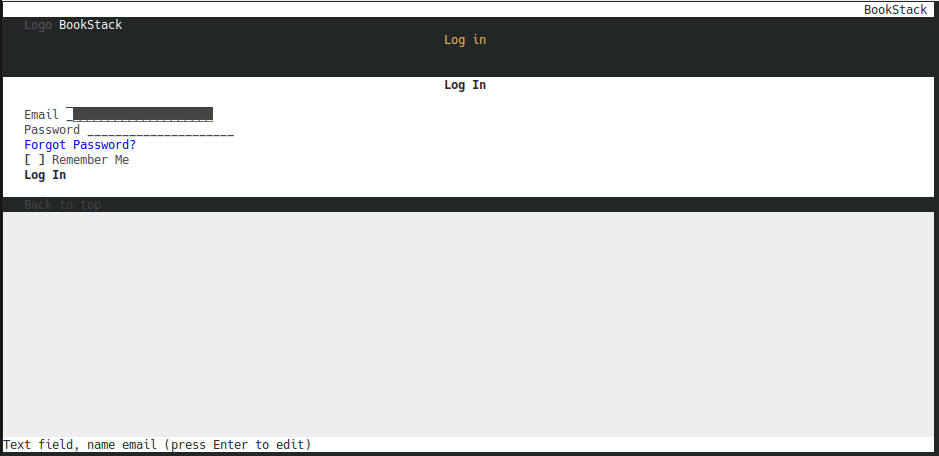
Alternatively, if you are working in a full DE or otherwise using a registered domain name, you can visit the page within your preferred web browser to see the page below
Troubleshooting
Generally, you should be able to find all relative logs and error messages by running either docker logs bookstack or docker logs bookstack_db. If you want docker to provide a live feed of logs, you'll need to add the -f flag to do so, as in docker logs bookstack -f.
In the case of this Bookstack instance, we are using https to encrypt the web traffic, which runs over port 443/tcp. So when you visit knoats.com in your web browser, I have an NGINX configuration in place to ensure that all traffic is routed through the port 443, which is decrypted and passed internally to the localhost port 0.0.0.0:6875 where our containerized port 80 then serves our web content using NGINX.
CONTAINER ID        IMAGE                   COMMAND             CREATED             STATUS              PORTS                           NAMES
xxxxxxxxxxxx        linuxserver/bookstack   "/init"             25 hours ago        Up 25 hours         443/tcp, 0.0.0.0:6875->80/tcp   bookstack
xxxxxxxxxxxx        linuxserver/mariadb     "/init"             26 hours ago        Up 25 hours         3306/tcp                        bookstack_db
Some of this information has been changed for security reasons - such as ports and the CONTAINER ID's seen above. If you want to configure SSL for your bookstack, see Knoats - NGINX SSL Configuration