GitLab
Following the link below, GitLab provides a good refence for the many ways to deploy and configure various portions of a self hosted GitLab instance. fo Official Ubuntu Installation Instructions
Versions
GitLab offers two types of instances, SaaS and self-hosted. SaaS is their hosted gitlab.com instance which you can sign up on an purchase different tiers. The second is a self-hosted environment with limitations based on the license purchased.
SaaS
Differences in SaaS GitLab versions
Support for CI tools and dashboards come with Bronze
Support for Conan, Maven, NPM come with Silver.
Support for major security features comes with Gold.
Self-hosted
Differences in self-hosted GitLab versions
Its good to know that you can always upgrade your CE instance to EE just by installing the EE packages ontop of the CE.
Its also good to know what would happen to your instance should your subscription expire if considering a EE license
Installation
GitLab uses their Omnibus GitLab package to group the services needed to host a GitLab instance without creating confusing configuration scenarios.
GitLab can be hosted on a Pi which means you can do some tweaking to improve performance or save some resources on your host. Some options would be splitting the DBs from the host and reducing running processes. Both are described and documented in the link above.
Docker Compose
Official Compose Documentation
Currently, the basic docker-compose.yml shown on the official documentation is seen below. You do not need to run NGINX locally on your server, it is contained within the Omnibus
web:
  image: 'gitlab/gitlab-ce:latest'
  restart: always
  hostname: 'gitlab.example.com'
  environment:
    GITLAB_OMNIBUS_CONFIG: |
      external_url 'https://gitlab.example.com'
      # Add any other gitlab.rb configuration here, each on its own line
  ports:
    - '80:80'
    - '443:443'
    - '22:22'
  volumes:
    - '$GITLAB_HOME/config:/etc/gitlab'
    - '$GITLAB_HOME/logs:/var/log/gitlab'
    - '$GITLAB_HOME/data:/var/opt/gitlab'
By default, docker will name this container by prefixing the web service name with pathname_ relevant to your current working directory. If you want to name this container add container_name: name within the web layer of this docker-compose.yml
Required Modifications
We need to make sure to replace hostname and external_url with relevant URLs for our environment or starting this container will fail.
hostname
The external_url must be in the format of the root domain domain.com - without the schema (http / https) or port.
external_url
The external_url must be in the format of http://domain.com:8080 where 8080 is the port we are serving the content to externally. If you are using the default port 80, you can just use the http://domain.com format.
This error is seen with docker start gitlab && docker logs -f gitlab when we have improperly set the external_url variable within the root docker-compose.yml
Unexpected Error:
-----------------
Chef::Exceptions::ValidationFailed: Property name's value http://myspace.com does not match regular expression /^[\-[:alnum:]_:.]+$/
GITLAB_HOME
We also need to ensure that we either replace the environment varialble $GITLAB_HOME or set it to a value relevant to your environment. Otherwise, when starting this container Docker will not be able to bind the volumes and we will not be able to modify the required configuration files within them.
If you want to see what environment variables are set by default with the gitlab/gitlab-ce Docker image, run the following command
docker run gitlab/gitlab-ce env
For this image, we see the following output.
PATH=/opt/gitlab/embedded/bin:/opt/gitlab/bin:/assets:/usr/local/sbin:/usr/local/bin:/usr/sbin:/usr/bin:/sbin:/bin
HOSTNAME=0a37118aae33
LANG=C.UTF-8
TERM=xterm
HOME=/root
Serving Locally
Working on hosting this container on localhost? Because DNS resolves locally on your host first, you can override any URL within your /etc/hosts file by passing the below configuration, which allows us to visit www.myspace.com within a web browser to see the content being served locally.
127.0.0.1   localhost www.myspace.com myspace.com

# The following lines are desirable for IPv6 capable hosts
::1     ip6-localhost ip6-loopback
fe00::0 ip6-localnet
ff00::0 ip6-mcastprefix
ff02::1 ip6-allnodes
ff02::2 ip6-allrouters
Starting the Services
Since the Omnibus is a self-contained environment that has everything you need to host a GitLab, the docker-compose.yml we configured above needs to only contain the single web service which uses the gitlab/gitlab-ce Docker image. If you configure your hosts file as I did in the above /etc/hosts example you can quickly deploy the entire service with the below docker-compose.yml
web:
  image: 'gitlab/gitlab-ce:latest'
  container_name: gitlab
  restart: always
  hostname: 'myspace.com'
  environment:
    GITLAB_OMNIBUS_CONFIG: |
      external_url 'http://myspace.com'
      # Add any other gitlab.rb configuration here, each on its own line
  ports:
    - '80:80'
    - '443:443'
    - '22:22'
  volumes:
    - '/home/user/docker/gitlab/config:/etc/gitlab'
    - '/home/user/docker/gitlab/logs:/var/log/gitlab'
    - '/home/user/docker/gitlab/data:/var/opt/gitlab'
You should not be running NGINX on your box locally.
This simple configuration is meant for testing only and omits the environment variable $GITLAB_HOME so that it is self-contained. That being said, all we need to do it run docker-compose up -d && docker logs -f gitlab, and visit myspace.com in a web browser.
At first, you may see the default GitLab 502 page while the container is starting, but within a few minutes you should be able to refresh the page and see the page below
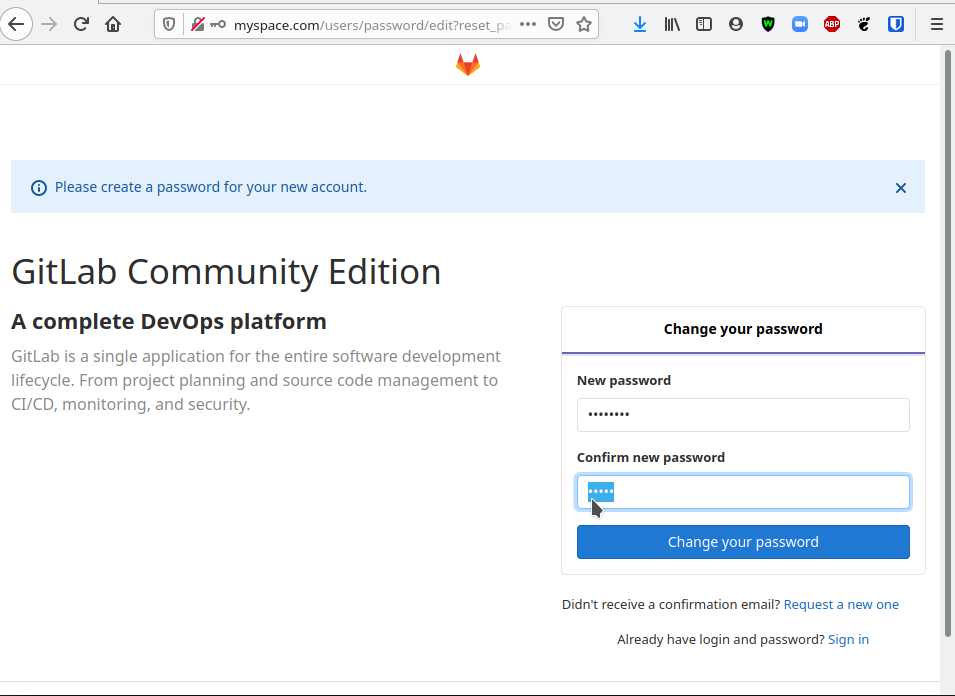
This page is requesting for you to create a password for the root account. After you submit this form you can then login to the GitLab with the username root and the relevant password configured here.
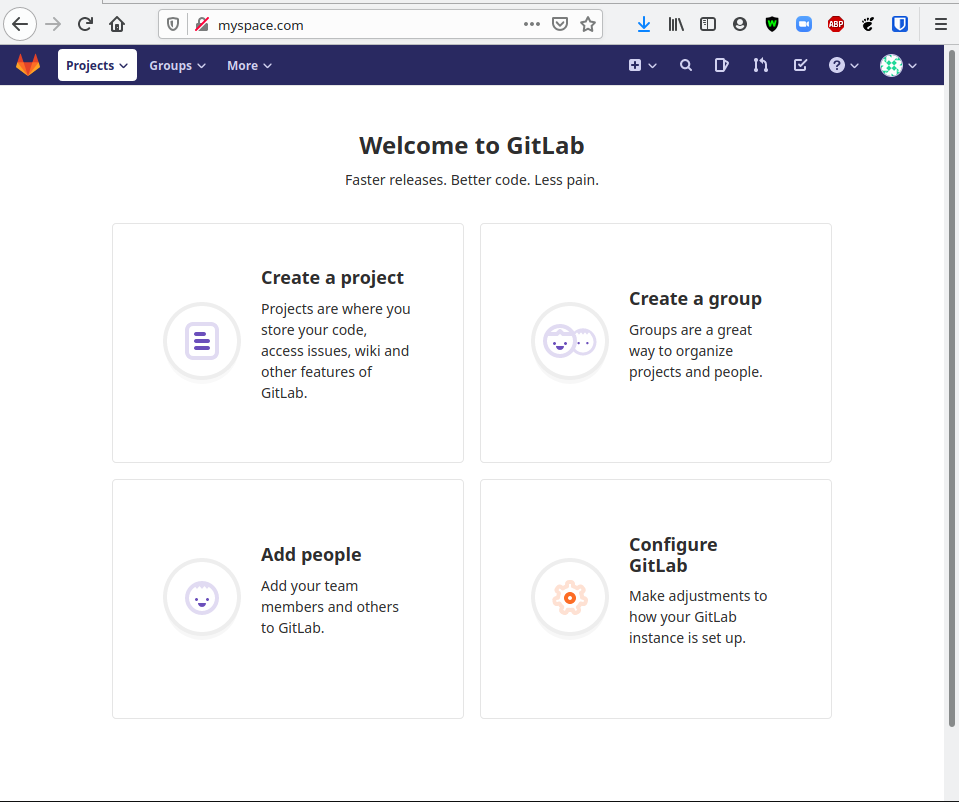
Once logging in as root, we see the below landing page
A normal user account can be created through the normal registration process on the home page of your instance. Below, I'm logged in as a user in one window and root in the other. The most notable difference is access to an admin area within the More dropdown
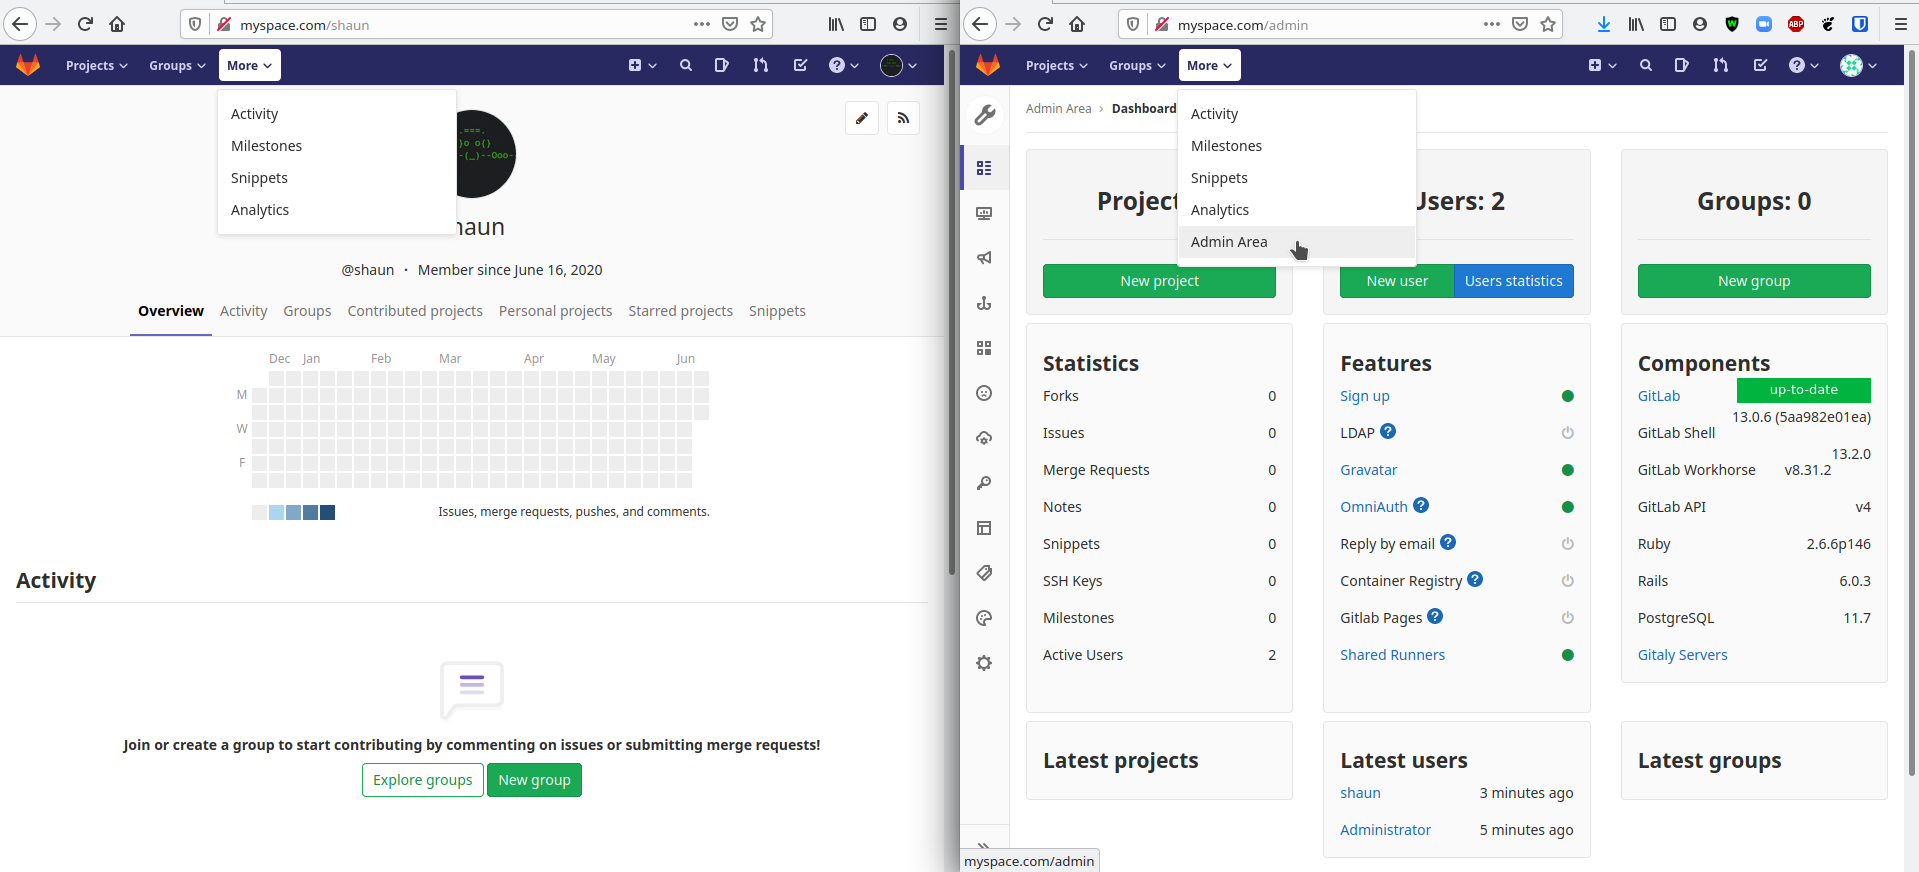
The Admin Area is a nice landing page if you are looking to configure a new feature that your instance does not have yet, as clicking on the ? next to any label will take you directly to the documentation to setup or modify that feature.
Resource Usage
Memory
Below, we can see the difference in memory usage on our host, which is running GitLab locally with no NGINX proxy running on the host itself.

GitLab Server Advanced Configurations
To modify these files, which configure several back-end options for our GitLab instance, we need to have started our services so Docker can mount the container volumes with the files we need to edit. Run docker-compose up -d and check the directory you input for $GITLAB_HOME in your docker-compose.yml. After a few seconds, we should notice this directory contains some new configurations.
gitlab.rb
To regenerate the default configuration, remove or rename the $GITLAB_HOME/config/gitlab.rb and restart the container
Grafana
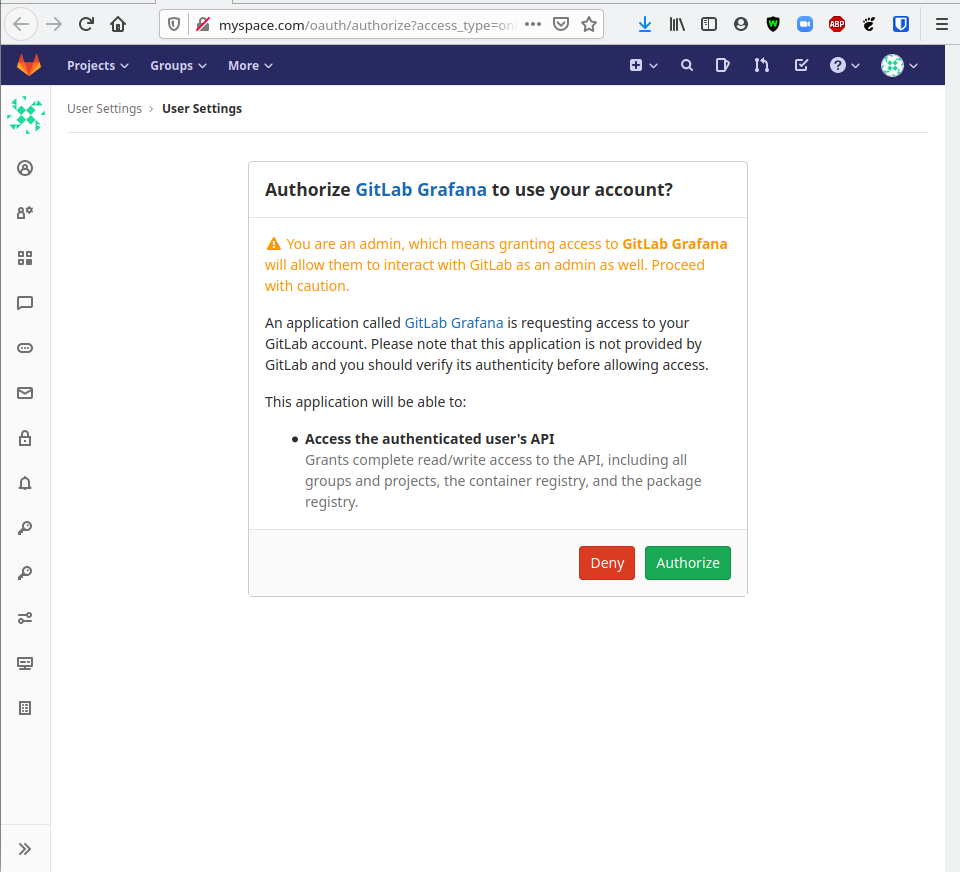
GitLab's Omnibus includes a Grafana that is configured with GitLab's builtin OAuth right out of the box if you are using any GitLab version beyond 12.0. If you do face any issues, see the Official Grafana OAuth Documentation for more detailed information on configuring this manually.
Visit http://yourdomain.com/-/grafana/login/gitlab to automatically link your GitLab account to a new Grafana user.
You must link the root user account to this Grafana in order to see various pages and settings not available to normal users.
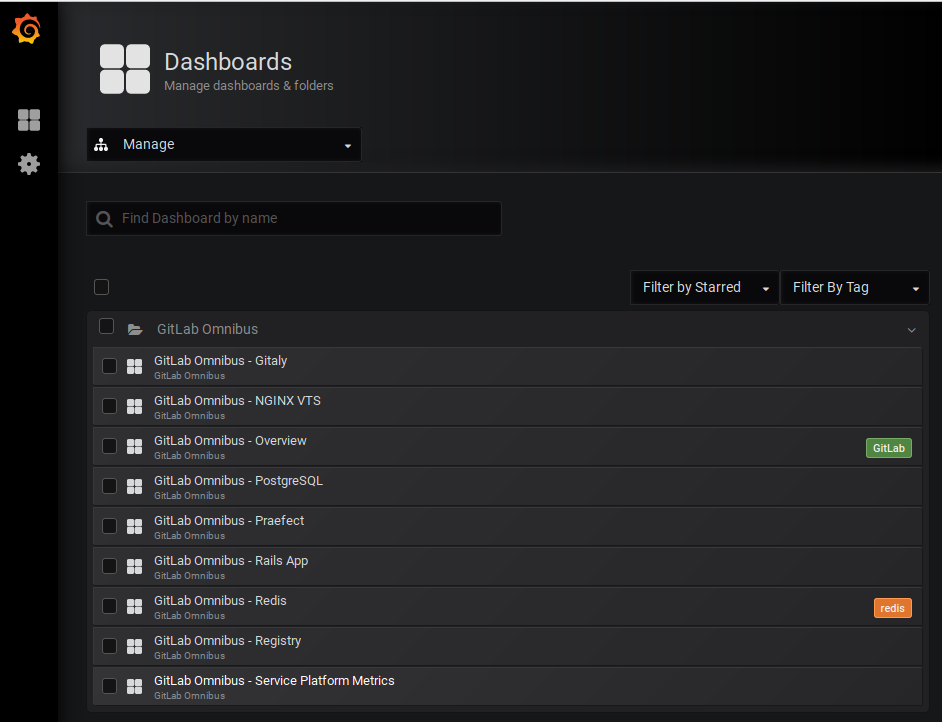
By default, the GitLab Omnibus ships with the following Grafana dashboards configured
Mail Settings
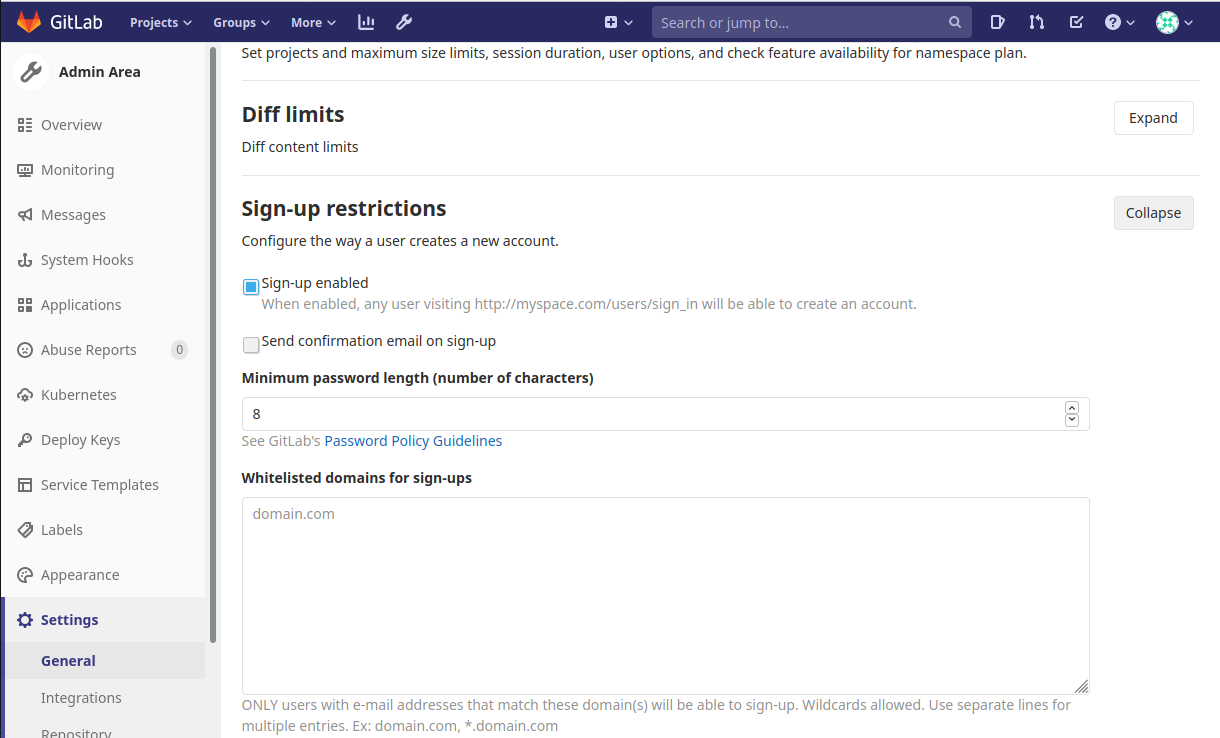
By default, GitLab sends no email to users upon registration. To enable this feature, sign into your instance as an adminsistrator and navigate to the Admin Area. Once there, go to the General Settings of your instance and scroll down to expand the section below
Incoming
GitLab can handle incoming email based on various configurations. Official Incoming Mail Documentation
Outgoing
GitLab sends mail using Sendmail by default. If you want to use a SMTP server instead, you can configure this in the Email Settings section of the $GITLAB_HOME/config/gitlab.rb configuration file.
### Email Settings
# gitlab_rails['gitlab_email_enabled'] = true
# gitlab_rails['gitlab_email_from'] = 'example@example.com'
# gitlab_rails['gitlab_email_display_name'] = 'Example'
# gitlab_rails['gitlab_email_reply_to'] = 'noreply@example.com'
# gitlab_rails['gitlab_email_subject_suffix'] = ''
# gitlab_rails['gitlab_email_smime_enabled'] = false
# gitlab_rails['gitlab_email_smime_key_file'] = '/etc/gitlab/ssl/gitlab_smime.key'
# gitlab_rails['gitlab_email_smime_cert_file'] = '/etc/gitlab/ssl/gitlab_smime.crt'
# gitlab_rails['gitlab_email_smime_ca_certs_file'] = '/etc/gitlab/ssl/gitlab_smime_cas.crt'