Shortcuts
Since Unity has many features and shortcuts available that will widen the gap between an experienced developer and a beginner, I'll list some of my most frequently used shortcuts and tricks here. Though these can all be viewed and modified by opening the panel below in Edit->Shortcuts..., there is a huge amount of shortcuts and this can be a lot to look at.

Transform Controls
Official Positioning Documentation
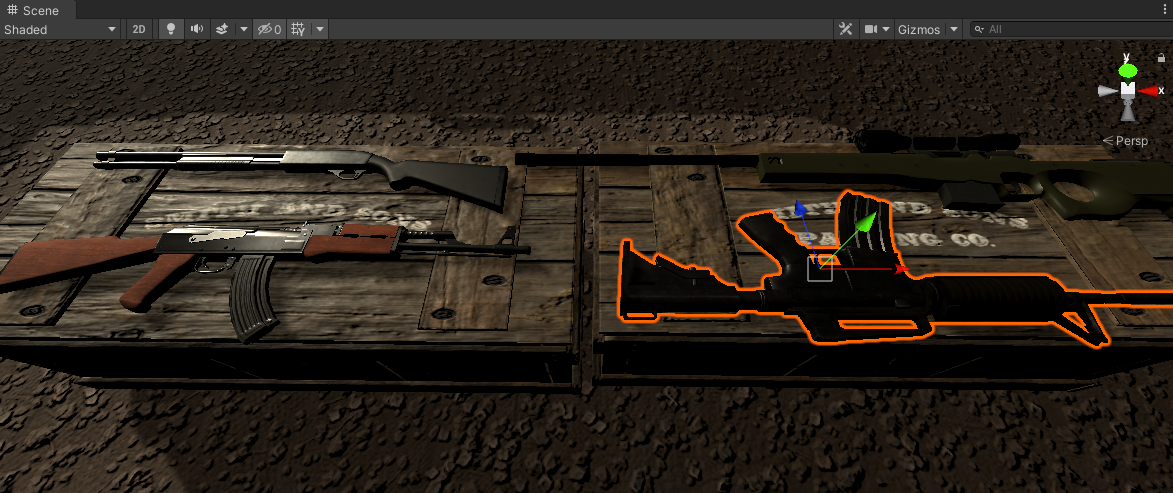
At the top-left of your Unity editor, you'll notice the transform control buttons where you can switch between Hand, Move, Rotate, Scale, Rect, and Universal controls. Each of these can also be toggled by pressing Q, W, E, R, T, and Y, respectively.

Snapping to Collision
There will be many cases where you want to place an object on a table or ground within your scene. You should not need to manually fumble with axis to do this, but instead given that both objects have collision of some kind you can simply hold Shift+Ctrl while using the Move tool and dragging the grey box that appears in the center of the object, NOT the axis themselves. This will immediately snap the object to the collision nearest to your cursor as you drag it around the scene. There may be minor adjustments needed, but overall this should do the trick for most basic items.
Object to Scene PositionView Transform
You will frequently want to move an object to the position and rotation of your current scene view.view in World space. You could manually drag the object across the scene in unity, adjusting each axis as needed. Alternatively, you can fly to a position near your desired location for the object, select the object, then press Shift-Ctrl-F to move the object to your exact position and rotation. This is very useful when setting up cameras, as you can just fly to the view you want the camera to display, select the camera, and press Shift-Ctrl-F to set it to that exact position with a lot less fumbling around.