Post Processing
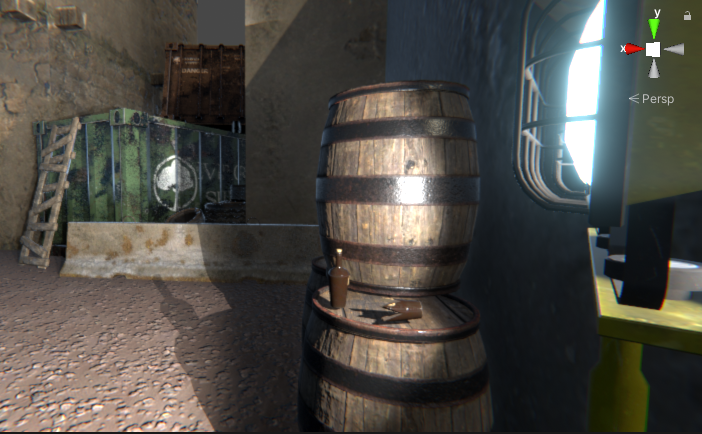
Good graphics are good. That's why I was excited to find adding Post Processing to my Unity 3D project was not only easy to do, but a huge improvement to the visuals within my scene. This enables common modern graphics features like Motion Blur, Ambient Occlusion, Depth of Field, and more.
Add Post Processing
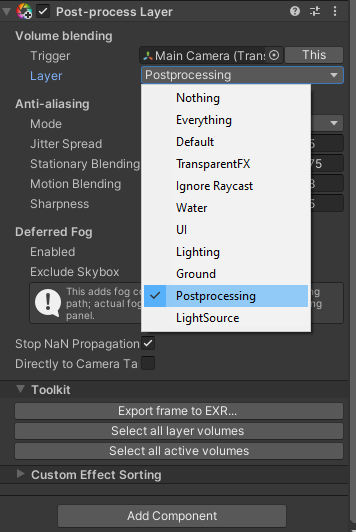
Post Processing is added to each scene individually, and not a project as a whole. To add this to a Unity 3D project, we first need to add the Post-process Layer component to our scene's main camera. Next we'll add a Post Processing Volume that globally effects our entire scene. Then we can add a PostProcessing_Profile for our scene and add new visual effects accordingly.
Configuring the Camera
Its important that the camera the player views the game from contains this component. Otherwise, if the player can toggle between a camera which has the Post-process Layer and one that does not, they effects gained by post processing will only be rendered in one view and not the other.

Once we've added the above component to the scene's main camera, we need to adjust the layer of both this component and our main camera to reflect this. Change to the Postprocessing Layer in the Post-process Layer component.
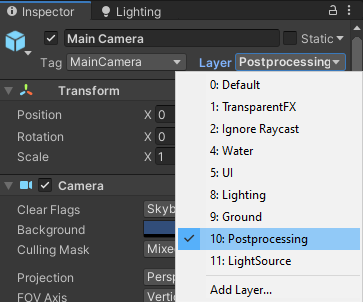
Now change the layer of the camera itself to the Postprocessing Layer as well
Creating the Volume
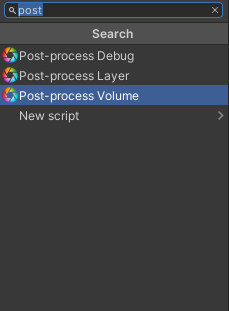
Now anywhere within your current scene hierarchy, add an empty GameObject and name it PostProcessingVolume or otherwise something relative to your specific scenario. Set this GameObject's layer to Post Processing. Select this new GameObject and within the inspector Add Component->Post-processing Volume as seen below
At a glance, there is not much here. But once we add a Post Process Profile and finish configuring our scene we will use this component to adjust some pretty neat looking visuals.
Be sure to apply the Post Processing layer to the Camera and Volume GameObjects within your scene before continuing or the effects will not be applied
Creating the Profile
Within the GameObject created for our Volume click New to the right of the Profile field in the new Post-processing Volume component.
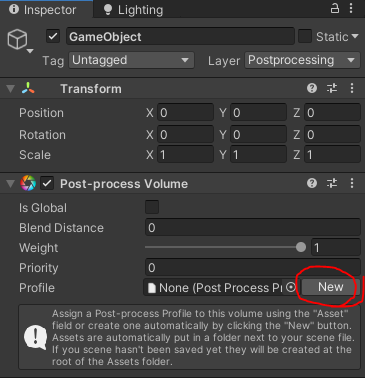
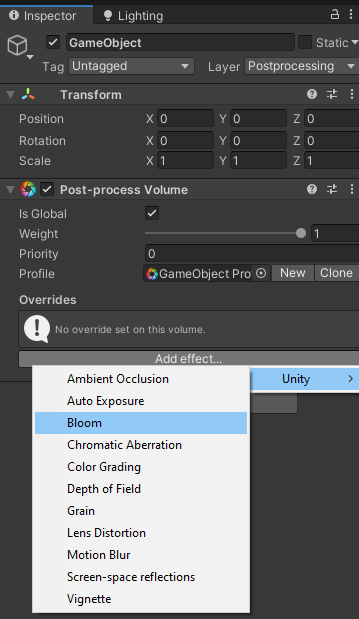
Unity will automatically create a Post Processing Profile and place it in a directory relative to your scene. Now we can check the Global tick box to apply this volume to our entire scene and start adding new effects to our scene!
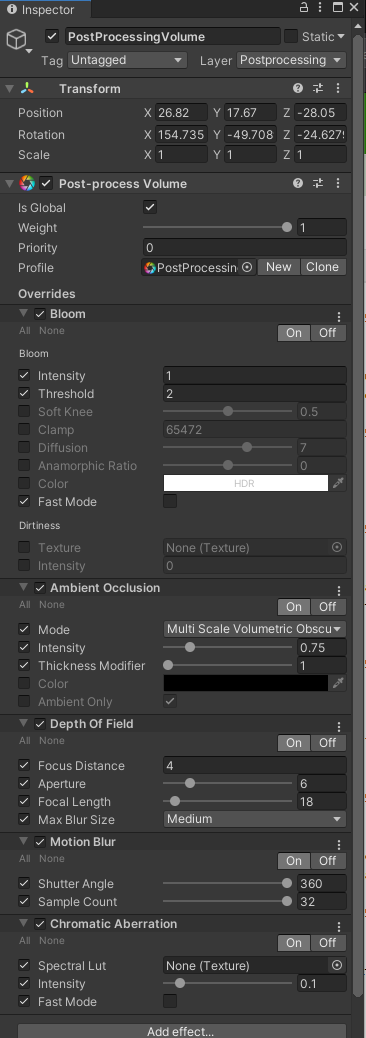
An example of some effects that I added to my scene to achieve the screenshot at the top of this page
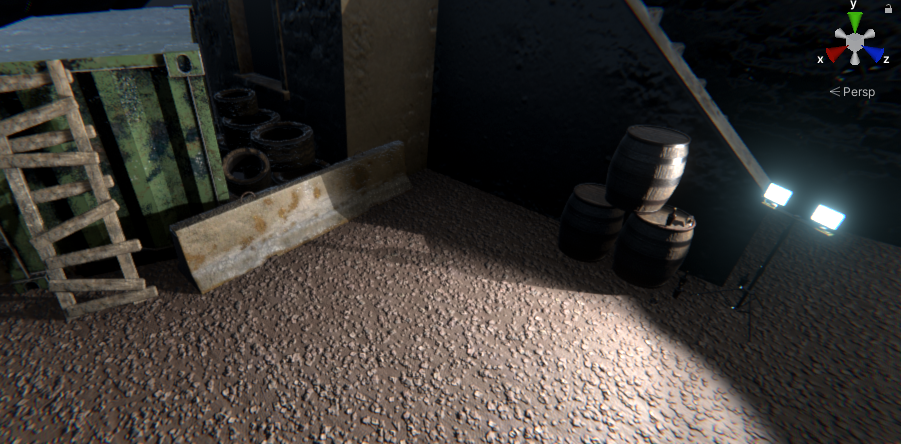
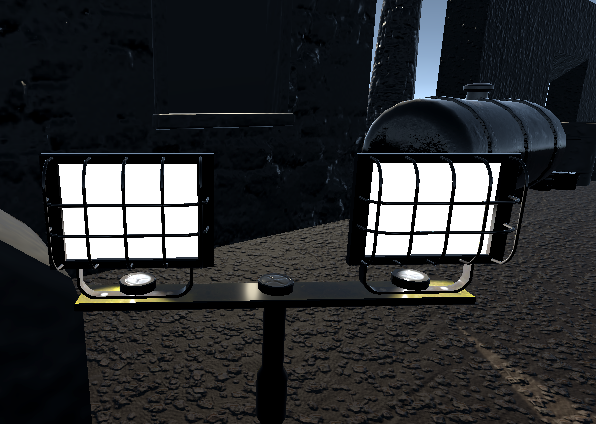
That's it! See the glow coming from the lights in the pictures below for an example of how this can be used to add the Bloom effect to an emissive light source.
Post Processing on

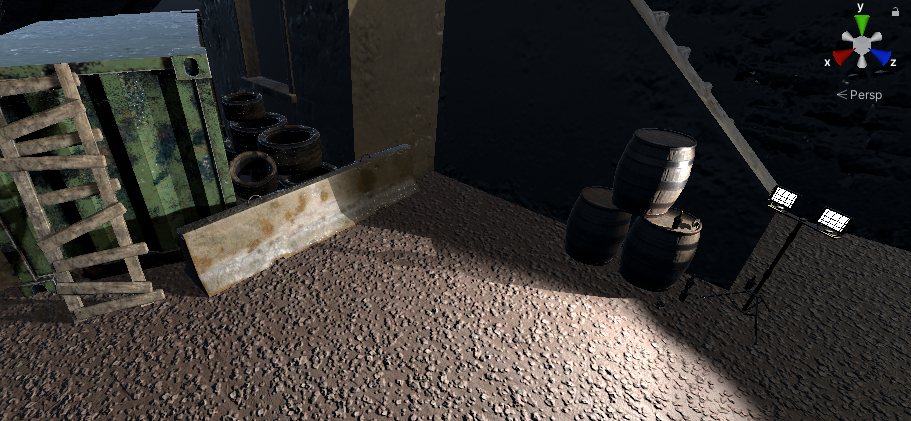
Post Processing off
No comments to display
No comments to display