XPS 9310
TODO: Make IPv6 changes persist
I intalled my own SSD after purchasing a model from dell with a small SSD installed. This was mostly because I wanted to store the SSD from dell as-is in a box so if I had to submit a claim or sell the laptop later I could reinstall it and it would be as it arrived from dell brand new. The install of the SSD was not difficult but did require a plastic prybar tool for removing the back cover of the laptop. Be very careful not to use any hard tools or too much force or you could damage the chasis. I was able to replace the SSD several times without issue and no damage to the chasis.
Dell provides service manuals for all laptops, check Dell's website for instructions. You'll just need to remove the back plate, then remove a heat shield over the SSD, then swap out the M.2 for your own. It's really not too difficult, but the back plate was a challenege the first time around. You'll get a feel for it after that, just be careful and take your time as your top priority should be to not damage the thing. Putting the back plate back on is also a bit strange, just follow the service manual. Start from the hinges and rotate the plate down into place. It should not require a lot of force, so be careful.
You'll need a Torx-5 screwdriver for the chasis, and I used a common Craftsman 6-in-1 screwdriver for the M.2. Don't use too small of a screwdriver on the M.2 screw, or you'll strip it out. Dell service manual has exact sizes for all screw heads.
WiFi worked out of the box on Kubuntu 20.04.
Had issues with Steam download speeds, see Steam section for details.
No fingerprint reader yet.
Iris graphics device works out of the box. OpenGL detects graphics interface.
OpenGL 4.6 (Core Profile) Mesa 21.0.3 ( CoreProfile )
OpenGL Vendor:  Intel
Rendering Device:  Mesa Intel(R) Xe Graphics (TGL GT2)
Some output from lscpu for context - \
kapper@xps:~/Code/qtk/build$ lscpu
Architecture:                    x86_64
CPU op-mode(s):                  32-bit, 64-bit
Byte Order:                      Little Endian
Address sizes:                   39 bits physical, 48 bits virtual
CPU(s):                          8
On-line CPU(s) list:             0-7
Thread(s) per core:              2
Core(s) per socket:              4
Socket(s):                       1
NUMA node(s):                    1
Vendor ID:                       GenuineIntel
CPU family:                      6
Model:                           140
Model name:                      11th Gen Intel(R) Core(TM) i7-1195G7 @ 2.90GHz
Stepping:                        2
CPU MHz:                         2504.062
CPU max MHz:                     5000.0000
CPU min MHz:                     400.0000
BogoMIPS:                        5836.80
Virtualization:                  VT-x
L1d cache:                       192 KiB
L1i cache:                       128 KiB
L2 cache:                        5 MiB
L3 cache:                        12 MiB
NUMA node0 CPU(s):               0-7
Application Shortcuts
This is more of a Linux / Kubuntu thing, but it was a lot of help in setting up the XPS 9310 to use the start menu for launching custom AppImages, commands, and executables stored in /opt/.
kapper@xps:~/.local/share/applications$ ls
'7 Days to Die.desktop'     jetbrains-datagrip.desktop    jetbrains-webstorm.desktop
 bitwarden.desktop          jetbrains-dataspell.desktop  'Medieval Dynasty.desktop'
'Cities Skylines.desktop'   jetbrains-goland.desktop      mimeinfo.cache
 CryoFall.desktop           jetbrains-pycharm.desktop    'Oxygen Not Included.desktop'
'Gunfire Reborn.desktop'    jetbrains-rider.desktop       Rust.desktop
 Icarus.desktop             jetbrains-rubymine.desktop    unity-hub.desktop
 jetbrains-clion.desktop    jetbrains-toolbox.desktop
Here's an example of running the exeuctable at /opt/bitwarden to start the Bitwarden Linux client. For the Icon, you can just go online and download any .ico or .png file and use a full path to it.
[Desktop Entry]
Comment[en_US]=
Comment=
Exec=/opt/bitwarden
GenericName[en_US]=
GenericName=
Icon=/home/kapper/Documents/Icons/bitwarden_icon.ico
MimeType=
Name[en_US]=Bitwarden
Name=Bitwarden
Path=
StartupNotify=true
Terminal=false
TerminalOptions=
Type=Application
X-DBUS-ServiceName=
X-DBUS-StartupType=
X-KDE-SubstituteUID=false
X-KDE-Username=
Hidden=false
BIOS Upgrade
To upgrade BIOS, I followed the instructions here. Only perform these commands when you have access to power, and the laptop is plugged in. If the laptop shuts down unexpectedly, you will have serious issues and will probably need to ship your machine to dell for a fix.
fwupdmgr get-devices
fwupdmgr refresh --force
fwupdmgr get-updates
fwupdmgr update
Then reboot the PC when connected to AC power and the BIOS update will start.
Steam
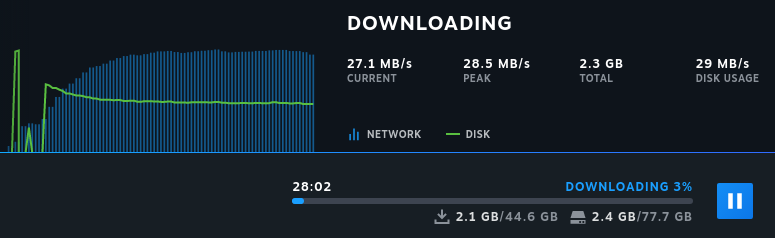
Bad download speeds on Steam
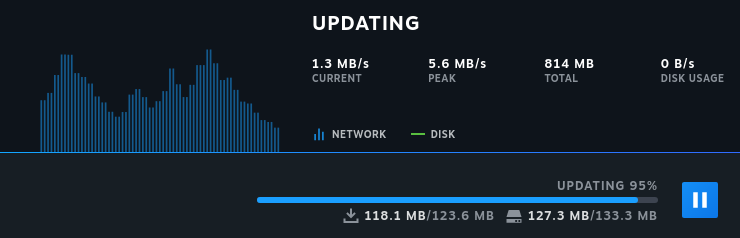
Download speeds fixed by disabling IPv6. After running the commands below and restarting Steam -
Followed instructions on linuxconfig.org
sudo sysctl -w net.ipv6.conf.all.disable_ipv6=1
sudo sysctl -w net.ipv6.conf.default.disable_ipv6=1
You should restart Steam if it is already running when changing these settings. There will be no notification to tell you to do so, but you could experience connection issues until you do.
You can enable IPv6 later with the opposite of these commands
sudo sysctl -w net.ipv6.conf.all.disable_ipv6=0
sudo sysctl -w net.ipv6.conf.default.disable_ipv6=0
To make this setting persist, you can add the lines above to the /etc/sysctl.conf configuration file. There will be a lot of comments and information in this file when you open it for editing, but just add the lines below and when you reboot the settings will be applied automatically.
#/etc/sysctl.conf
net.ipv6.conf.all.disable_ipv6=1
net.ipv6.conf.default.disable_ipv6=1
Fingerprint
For context, search apt for oem-somerville and read the output.
kapper@xps:~$ sudo apt search oem-somerville
Sorting... Done
Full Text Search... Done
oem-somerville-beric-icl-meta/focal-updates,focal-updates 20.04~ubuntu1 all
  hardware support for Somerville Beric-Icl platform

oem-somerville-bronn-meta/focal-updates,focal-updates 20.04~ubuntu1 all
  hardware support for Somerville Bronn platform

oem-somerville-bulbasaur-meta/focal-updates,focal-updates 20.04~ubuntu1 all
  hardware support for Somerville Bulbasaur platform

oem-somerville-caterpie-meta/focal-updates,focal-updates 20.04~ubuntu1 all
  hardware support for Somerville Caterpie platform

oem-somerville-gendry-meta/focal-updates,focal-updates 20.04~ubuntu1 all
  hardware support for Dell Precision 7550

oem-somerville-maester-meta/focal-updates,focal-updates 20.04~ubuntu1 all
  hardware support for Dell Latitude 3410

oem-somerville-meera-tgl-meta/focal-updates,focal-updates 20.04~ubuntu1 all
  hardware support for Somerville Meera-Tgl platform

oem-somerville-melisa-meta/focal-updates,focal-updates 20.04~ubuntu5 all
  hardware support for Dell XPS 13 9300

oem-somerville-octillery-meta/focal-updates,focal-updates 20.04~ubuntu1 all
  hardware support for Dell Latitude 9520

oem-somerville-samwell-tgl-meta/focal-updates,focal-updates 20.04~ubuntu1 all
  hardware support for Somerville Samwell-Tgl platform

oem-somerville-sanbernardino-meta/focal-updates,focal-updates 20.04~ubuntu1 all
  hardware support for Dell Wyse 5070 Extended Thin Client, 5070 Thin Client

oem-somerville-squirtle-meta/focal-updates,focal-updates 20.04~ubuntu1 all
  hardware support for Dell Latitude 7320/7420/7520

oem-somerville-three-eyed-raven-meta/focal,focal 20.04~ubuntu2 all
  hardware support for Somerville three-eyed-raven platform

oem-somerville-varys-meta/focal-updates,focal-updates 20.04~ubuntu1 all
  hardware support for Dell Precision 5550

oem-somerville-warcraft-intel-meta/focal-updates,focal-updates 20.04~ubuntu1 all
  hardware support for Dell Inspiron 15 3511, Vostro 15 3510
kapper@xps:~$ sudo apt install oem-somerville-melisa-meta
No luck yet.